Summary
- The Raspberry Pi is cheap and versatile, making it great for DIY projects.
- Use Music Assistant to combine multiple music sources through a Raspberry Pi or make your old speakers AirPlay compatible.
- Run your own private cloud server on a Raspberry Pi or build one into a retro arcade cabinet.
The Raspberry Pi is a hugely popular device for tinkerers to create their DIY projects. It’s no surprise; the various Raspberry Pi models are affordable, use very little power, and are incredibly versatile. There’s also a large active community of tinkerers, so you’re never at a loss for tips, ideas, or help with problems.
If you’re thinking about making something with a Raspberry Pi, there are so many options that it can be challenging to know where to start. If you’re struggling to decide what to do with your Raspberry Pi, here are just some of the cool, practical things you can do with one.
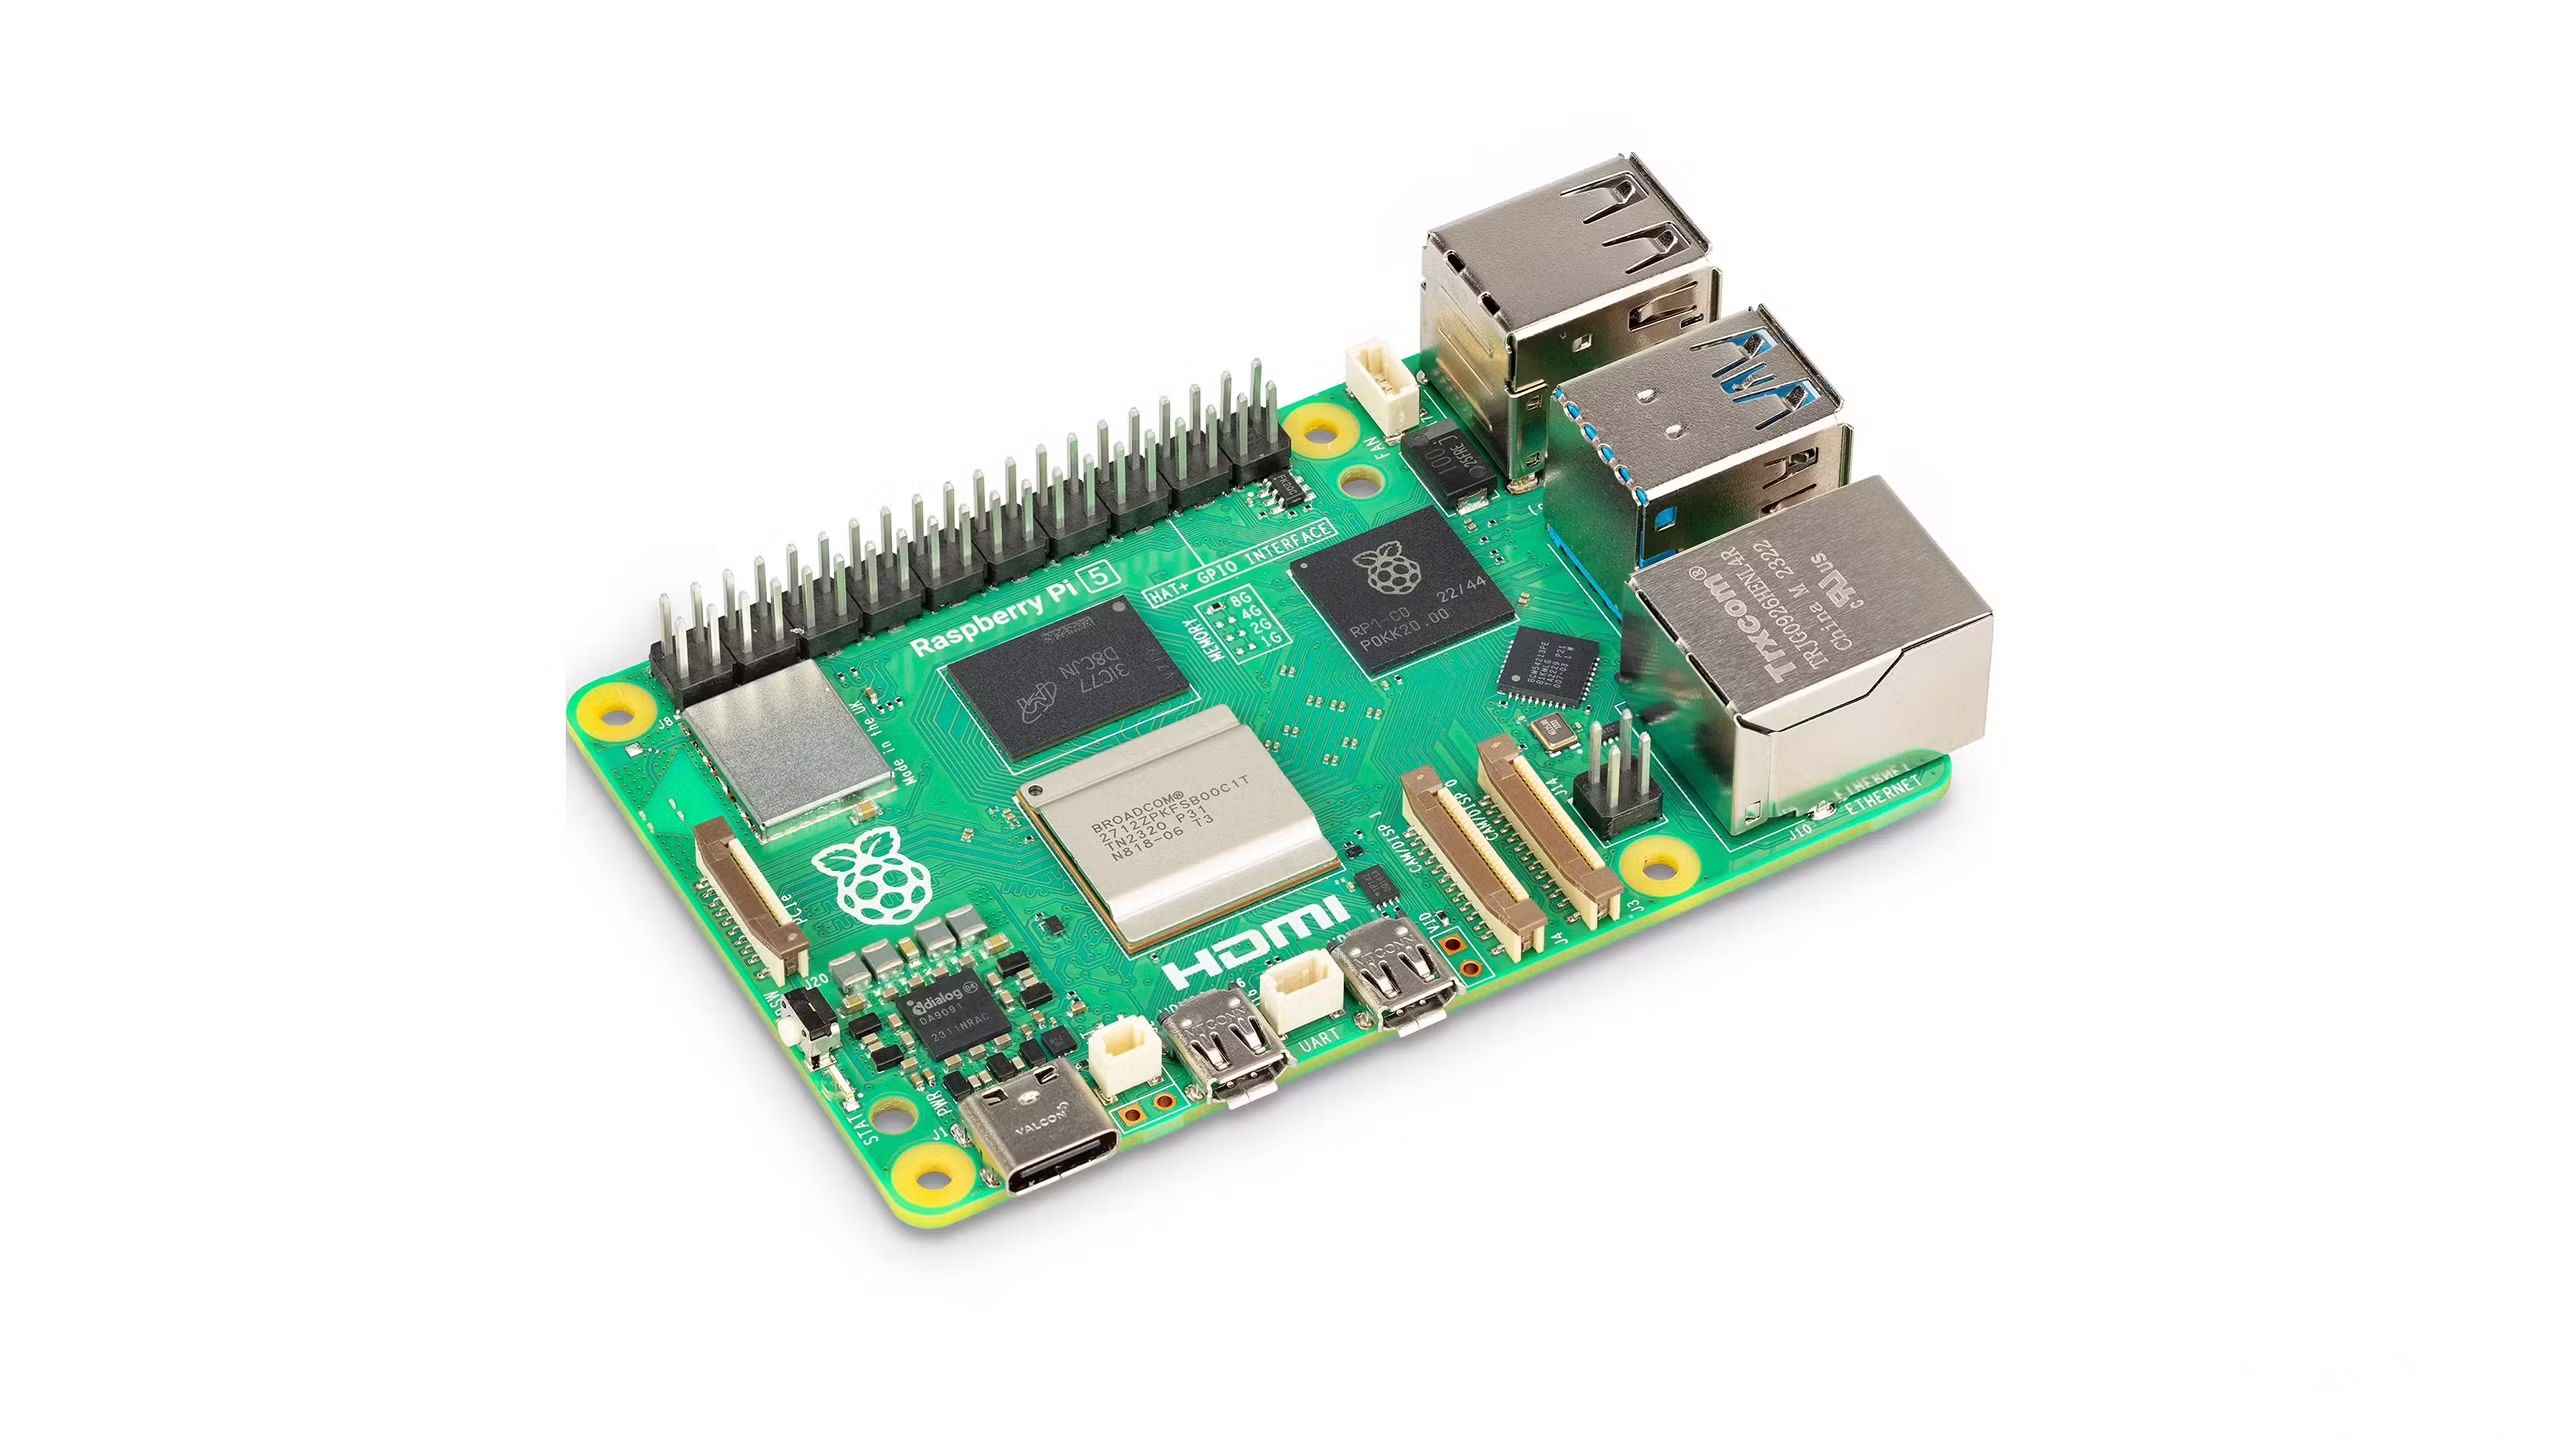
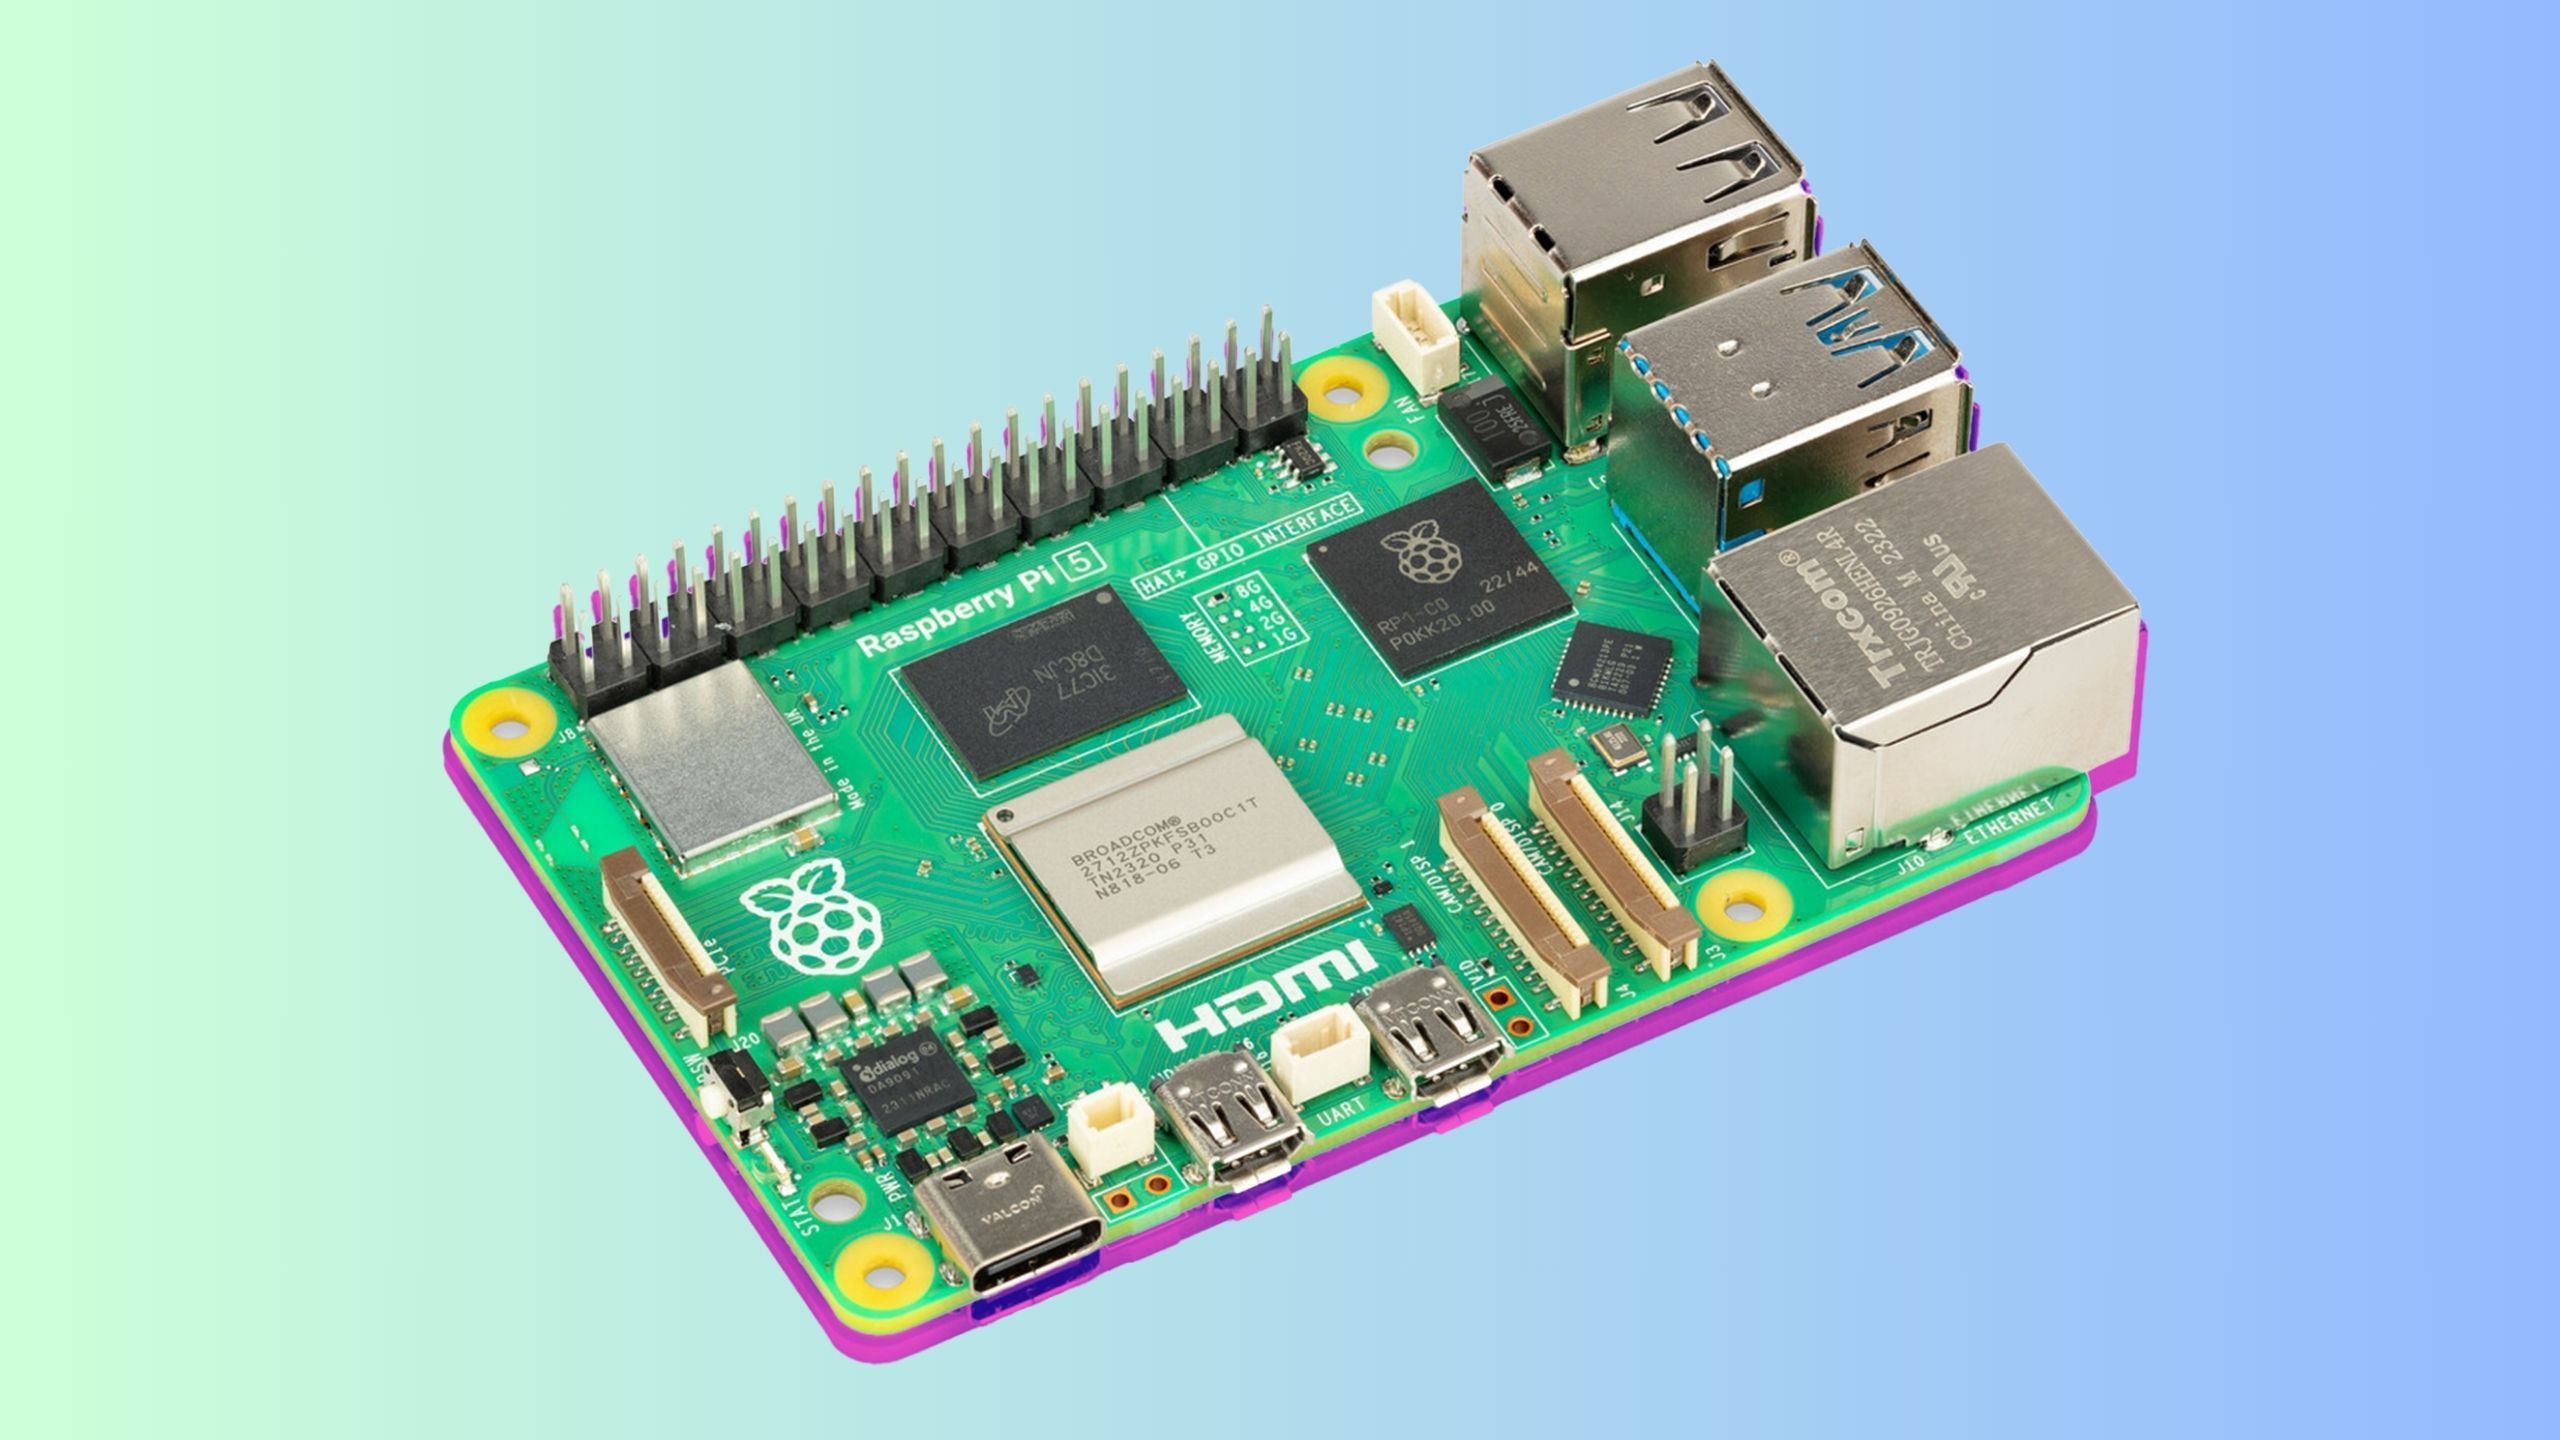
Raspberry Pi 5
The Raspberry Pi 5 is a powerful single-board computer (SBC) that launched towards the end of 2023. It’s great for DIY tech projects or even as a low-power desktop PC.
1 Play all your music from one source using Music Assistant
One music source to rule them all
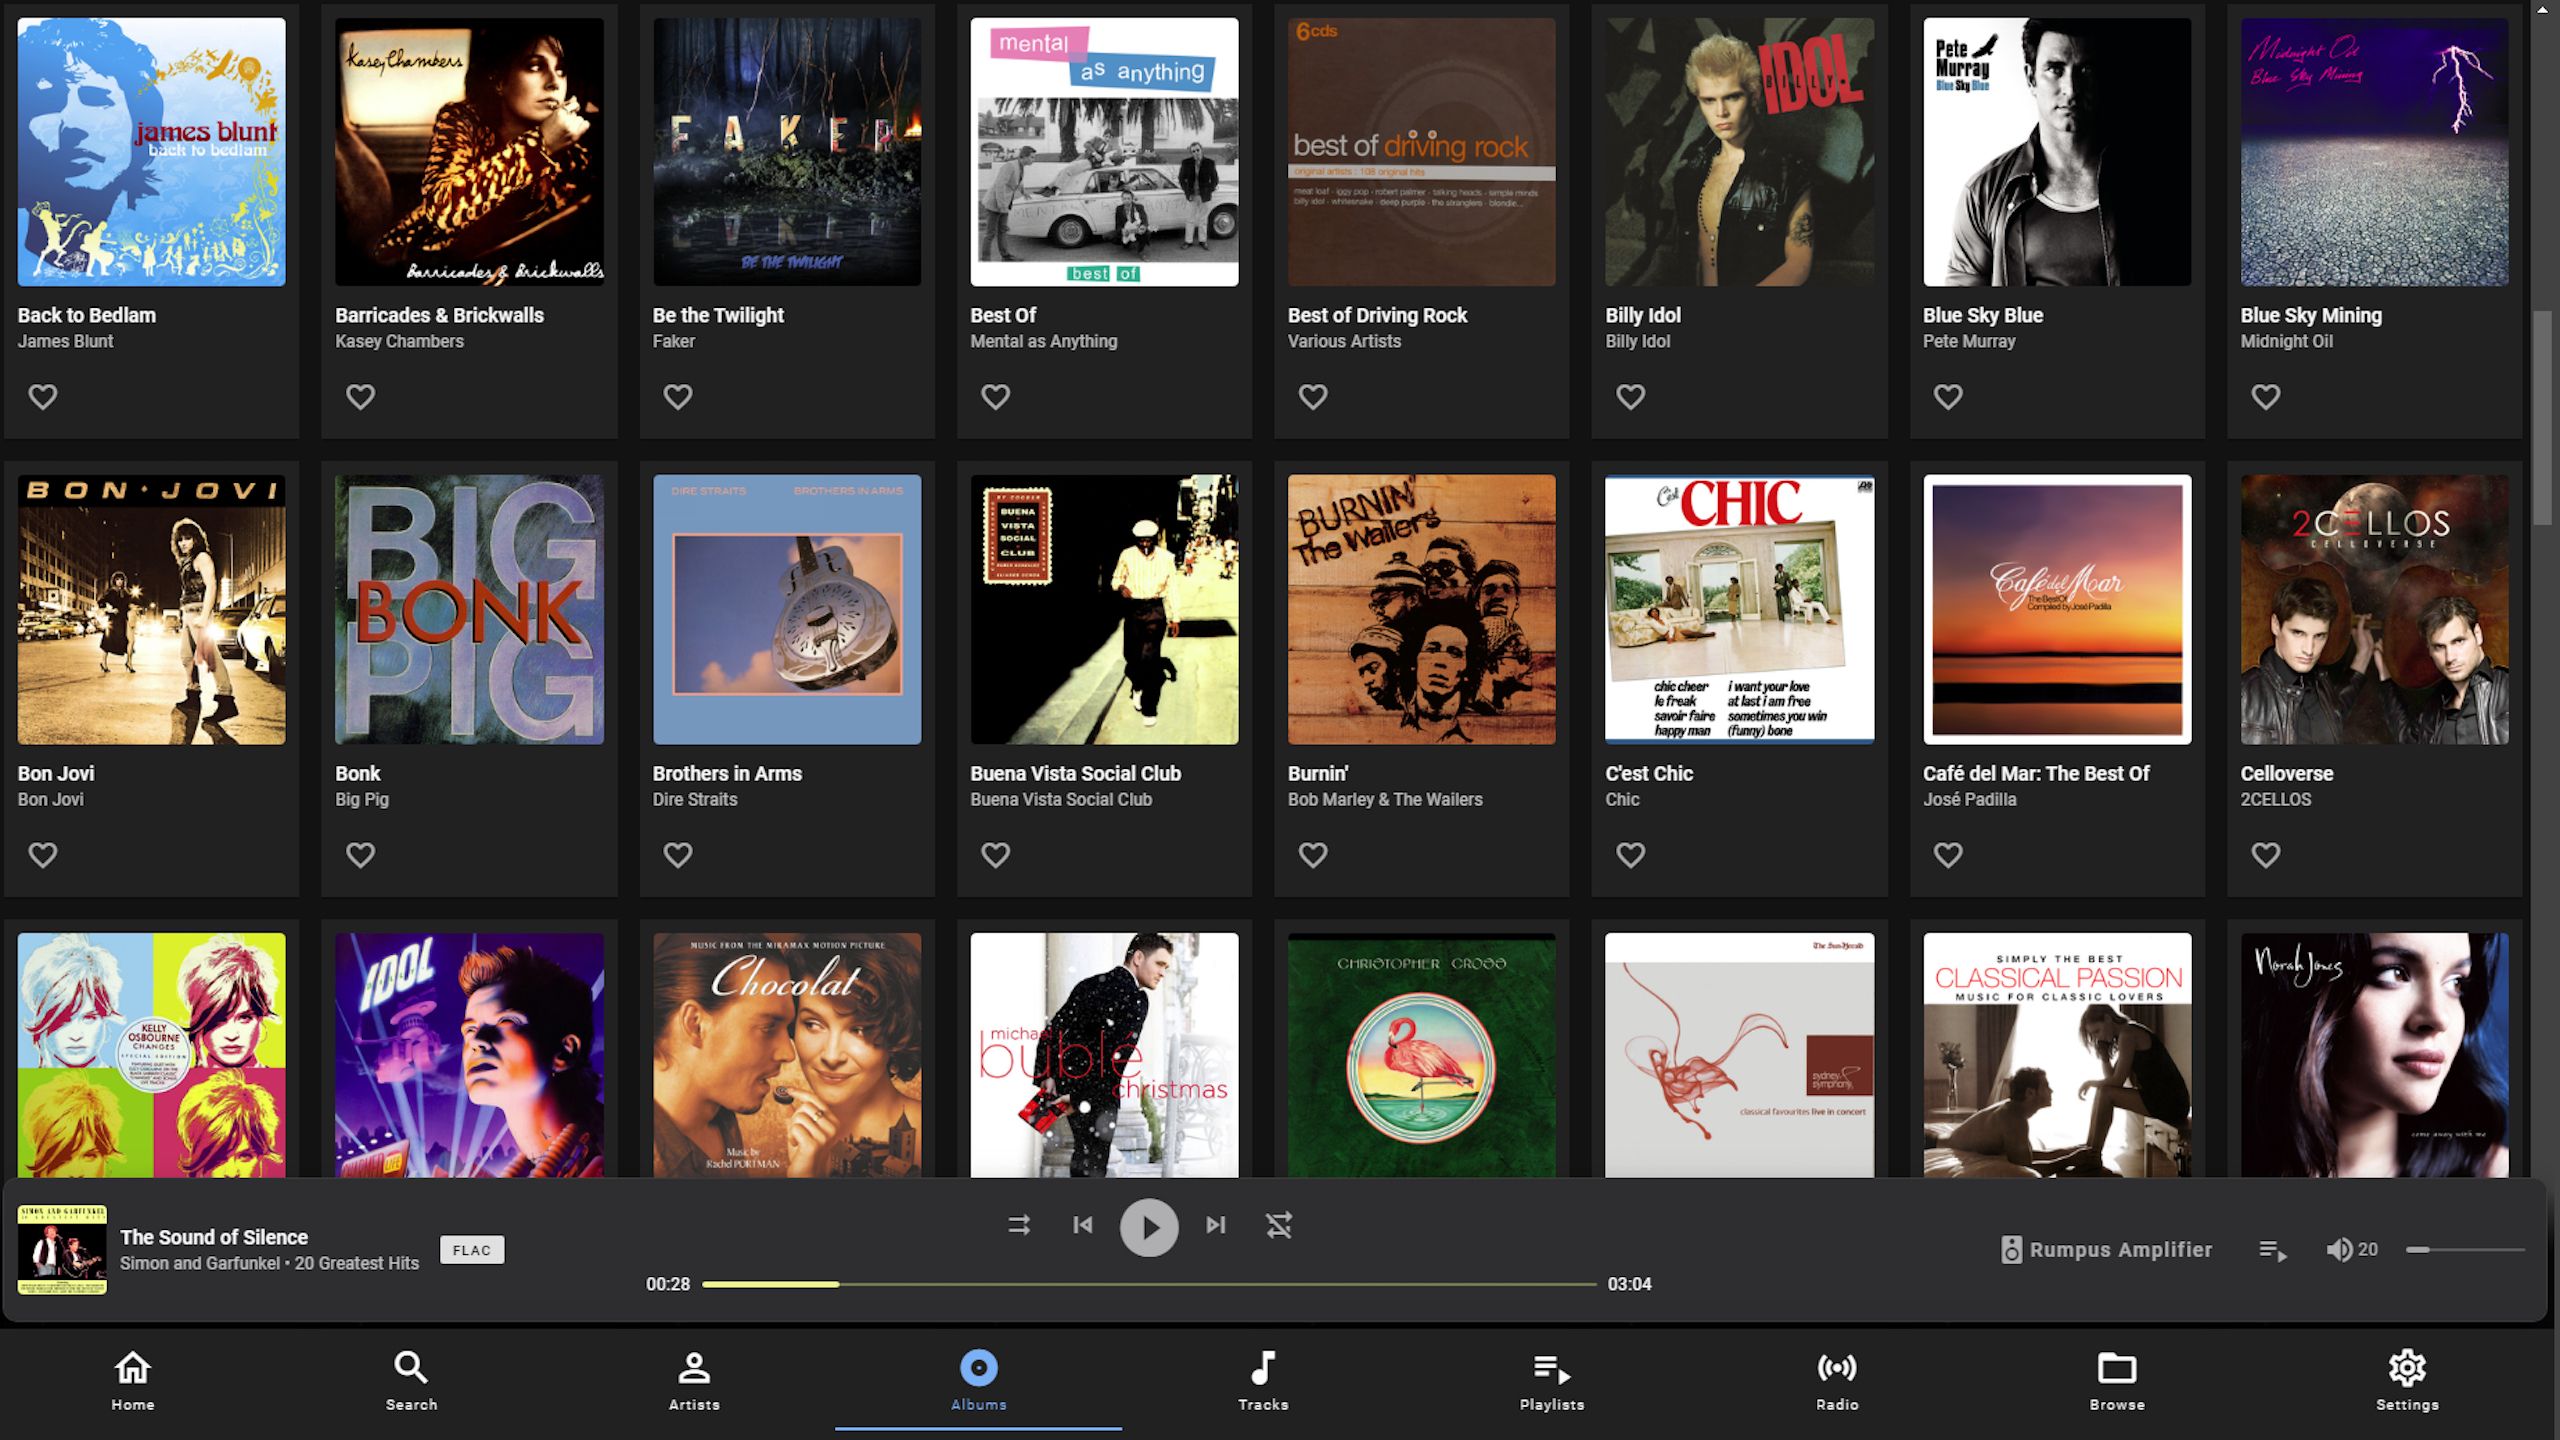
Music Assistant
Music streaming has made it easy to access millions of songs, but despite the huge catalogs, there may still be some music your streaming service doesn’t have. It can be frustrating when someone sends you their Spotify playlist and some of the tracks are missing from Apple Music, or vice versa. You might also have locally stored music files containing music that isn’t found on any of the streaming services.
Music Assistant is free, open-source software designed to solve these problems. It allows you to combine multiple music sources, including streaming services such as Apple Music, Spotify, Tidal, and YouTube Music, as well as local files and music streamed from Plex or Jellyfin. You can also play the music over a variety of different players, such as AirPlay, Sonos, Snapcast, and Google Cast.
You can run a Music Assistant on a Raspberry Pi and access it via a web interface, giving you access to music from all of your available sources. You’ll need to use a Raspberry Pi 4 or higher with a minimum of 2GB of RAM.

Related
Tired of Spotify? These 5 free music streaming apps will have you jamming for days
Just because it’s popular, doesn’t mean it’s the best: these apps deliver free music all day, every day.
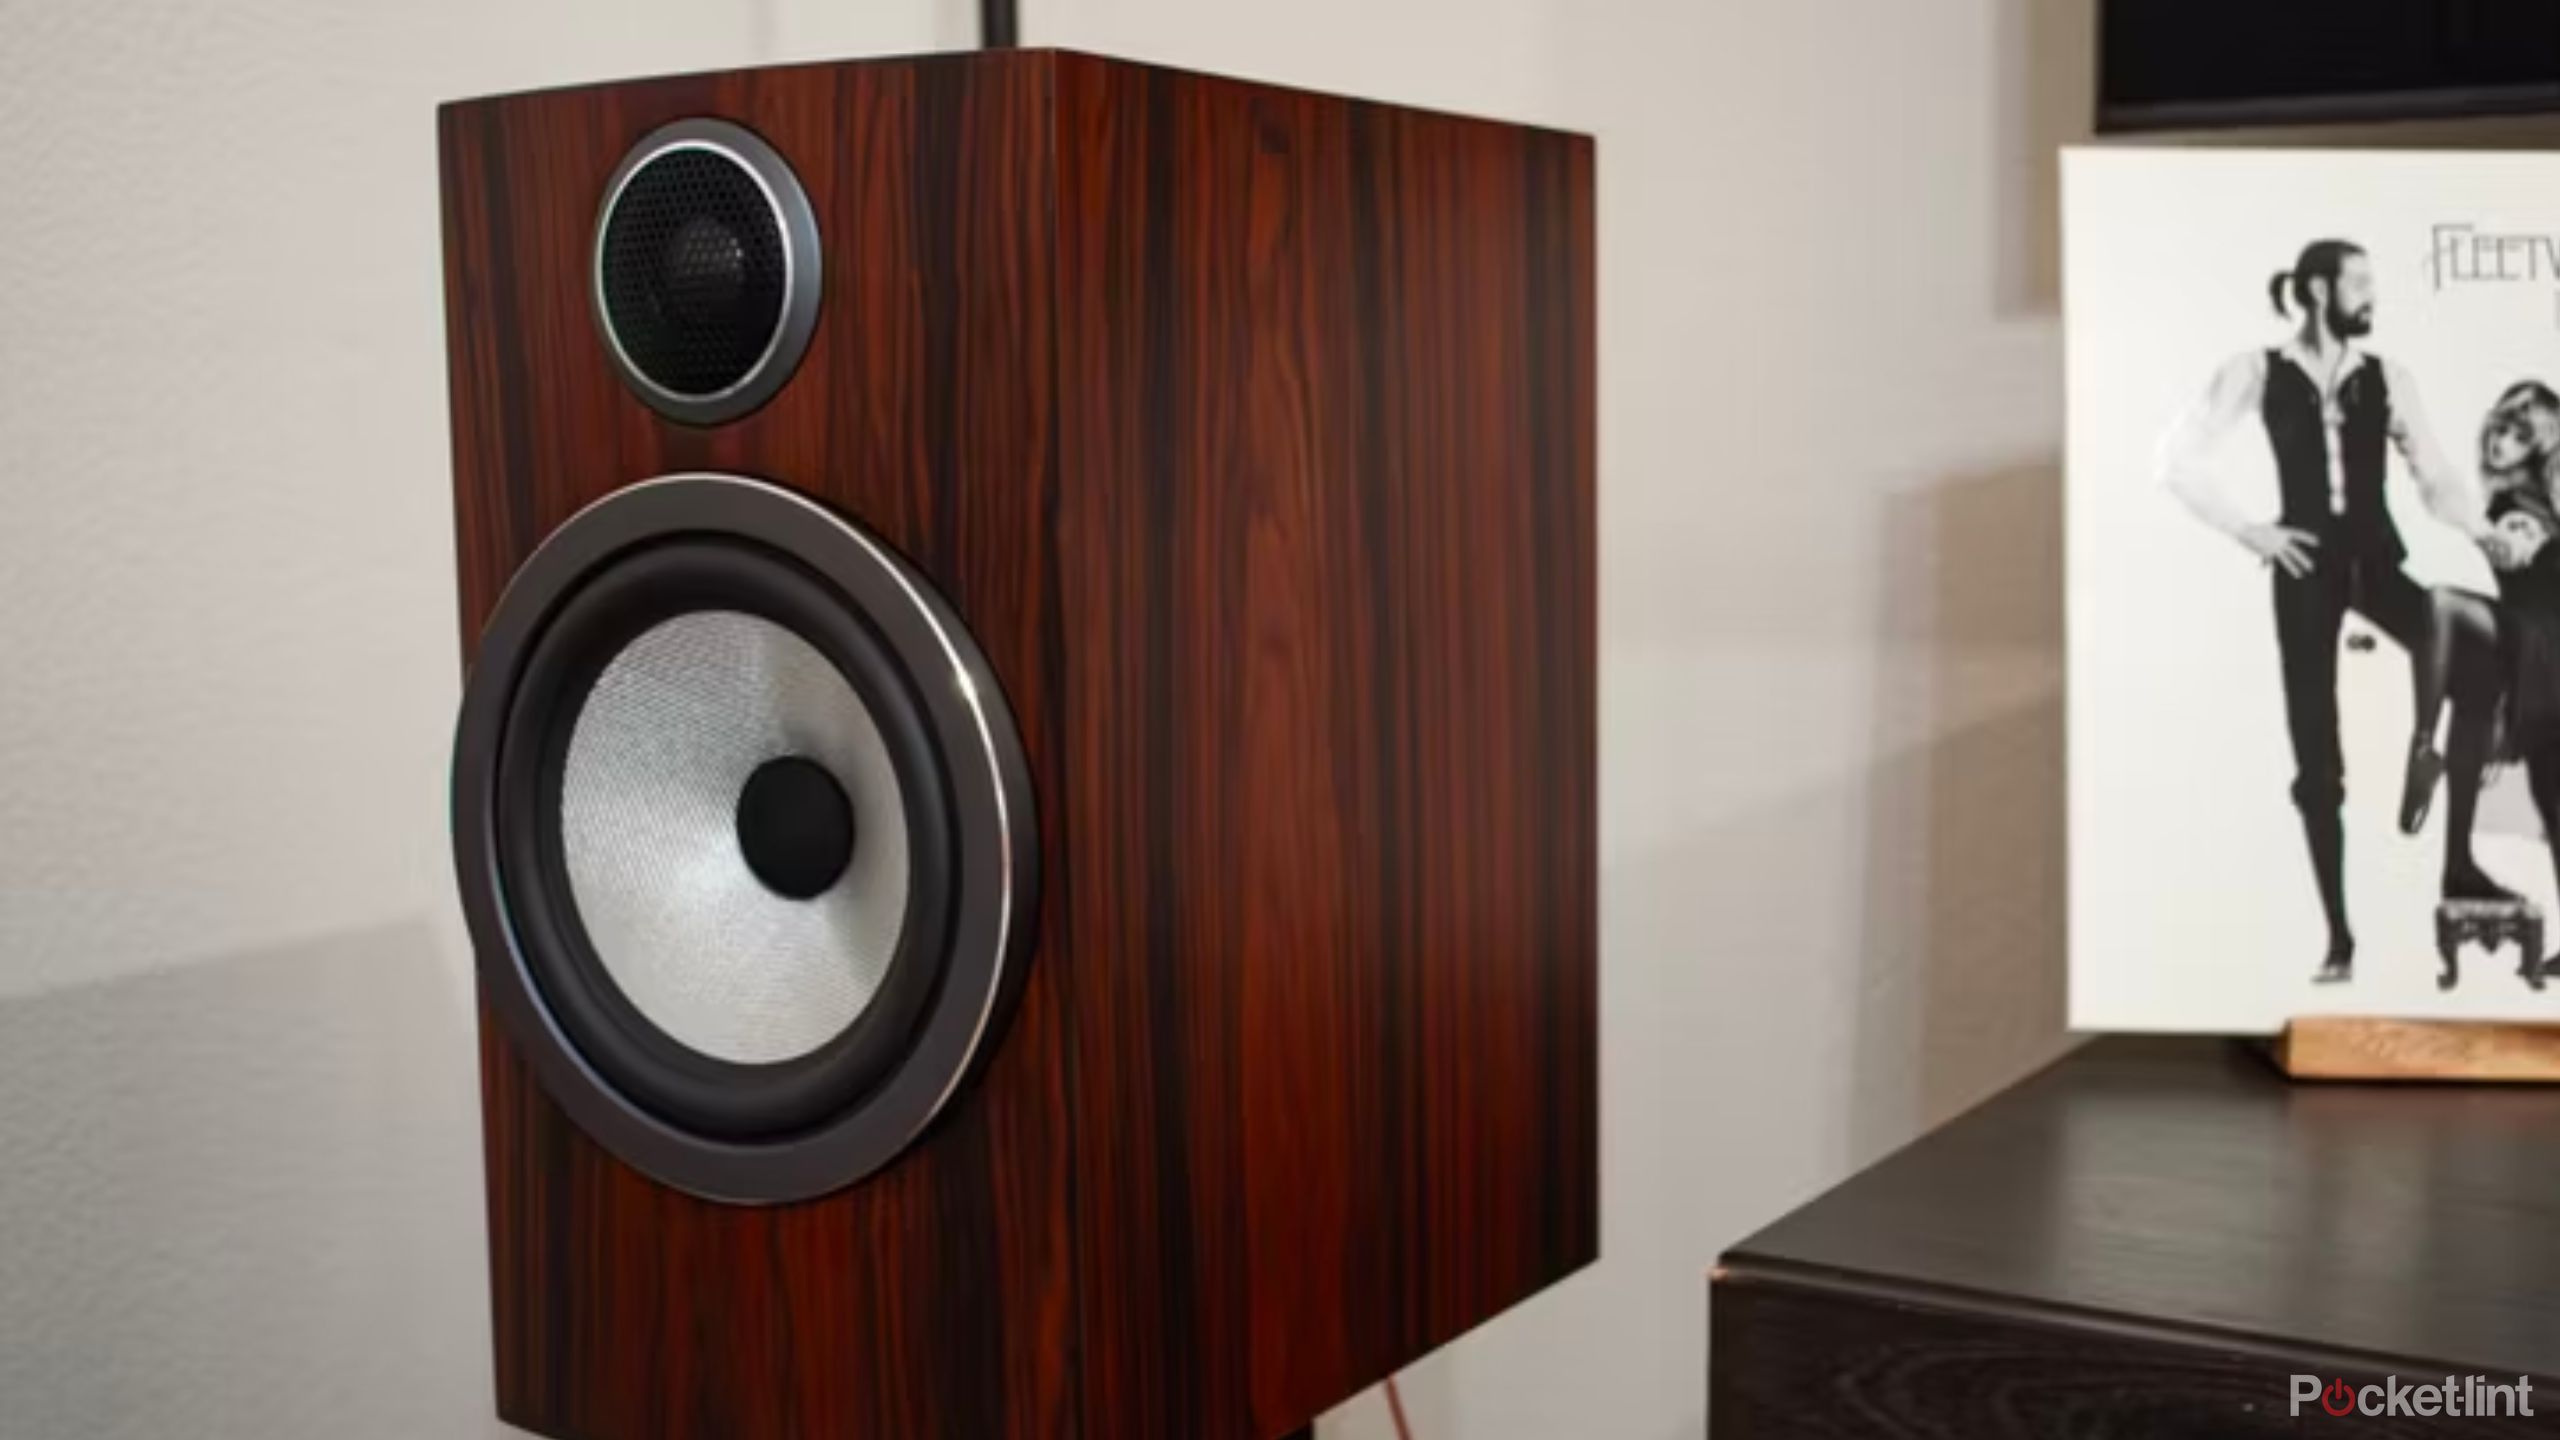
2 Make your old speakers into AirPlay speakers
Turn your dumb speakers smart with a Raspberry Pi
Being able to stream music is great, but the sound quality is only ever as good as the speakers that you’re listening through. You can have the highest quality audio, but if the speakers are poor, the music isn’t going to sound great.
You may already own some high-quality speakers from before streaming became mainstream. It can be frustrating to have good speakers that you can’t use because you can’t stream to them. However, with a Raspberry Pi, that’s no longer an issue.
You can turn your Raspberry Pi into an AirPlay receiver that you can connect to your speakers.
You can turn your Raspberry Pi into an AirPlay receiver that you can connect to your speakers. The Raspberry Pi will receive the AirPlay audio and pass it on through the wired connection to your speakers, making your previously dumb speakers AirPlay-compatible.
Since AirPlay 2 allows you to stream to multiple devices at the same time, you can even create a whole-home audio system using your old speakers and a few Raspberry Pis. While a minimum of a Raspberry Pi 3 is recommended, some users have had success using a Raspberry Pi Zero 2 W.
Related
Best AirPlay receivers: Turn any speaker into a wireless audio powerhouse
AirPlay is one of the simplest ways to cast audio from your devices, but not every speaker supports it. These receivers, however, can change that.
3 Create an AI chatbot that runs locally
Stop giving away your deepest thoughts to big tech

AI chatbots have taken the world by storm. You’d have to be living under a rock not to have heard of AI chatbots such as ChatGPT and Gemini, and many of us use them every day for all manner of things. However, if you use AI chatbots a lot, you may have concerns about how much the AI companies are learning about you.
The more we ask AI chatbots, the more information about ourselves we’re giving away. We may also upload files and photos, giving these companies even more insight into our personal lives. Companies such as Google and Meta don’t have the best of records when it comes to keeping our data private.
It’s possible to run your own large language model (LLM) at home.
The good news is that it doesn’t have to be this way. You can use an AI chatbot without having to worry about big tech companies selling your private information to the highest bidder or using it to profile you for targeted ads. It’s possible to run your own large language model (LLM) at home.
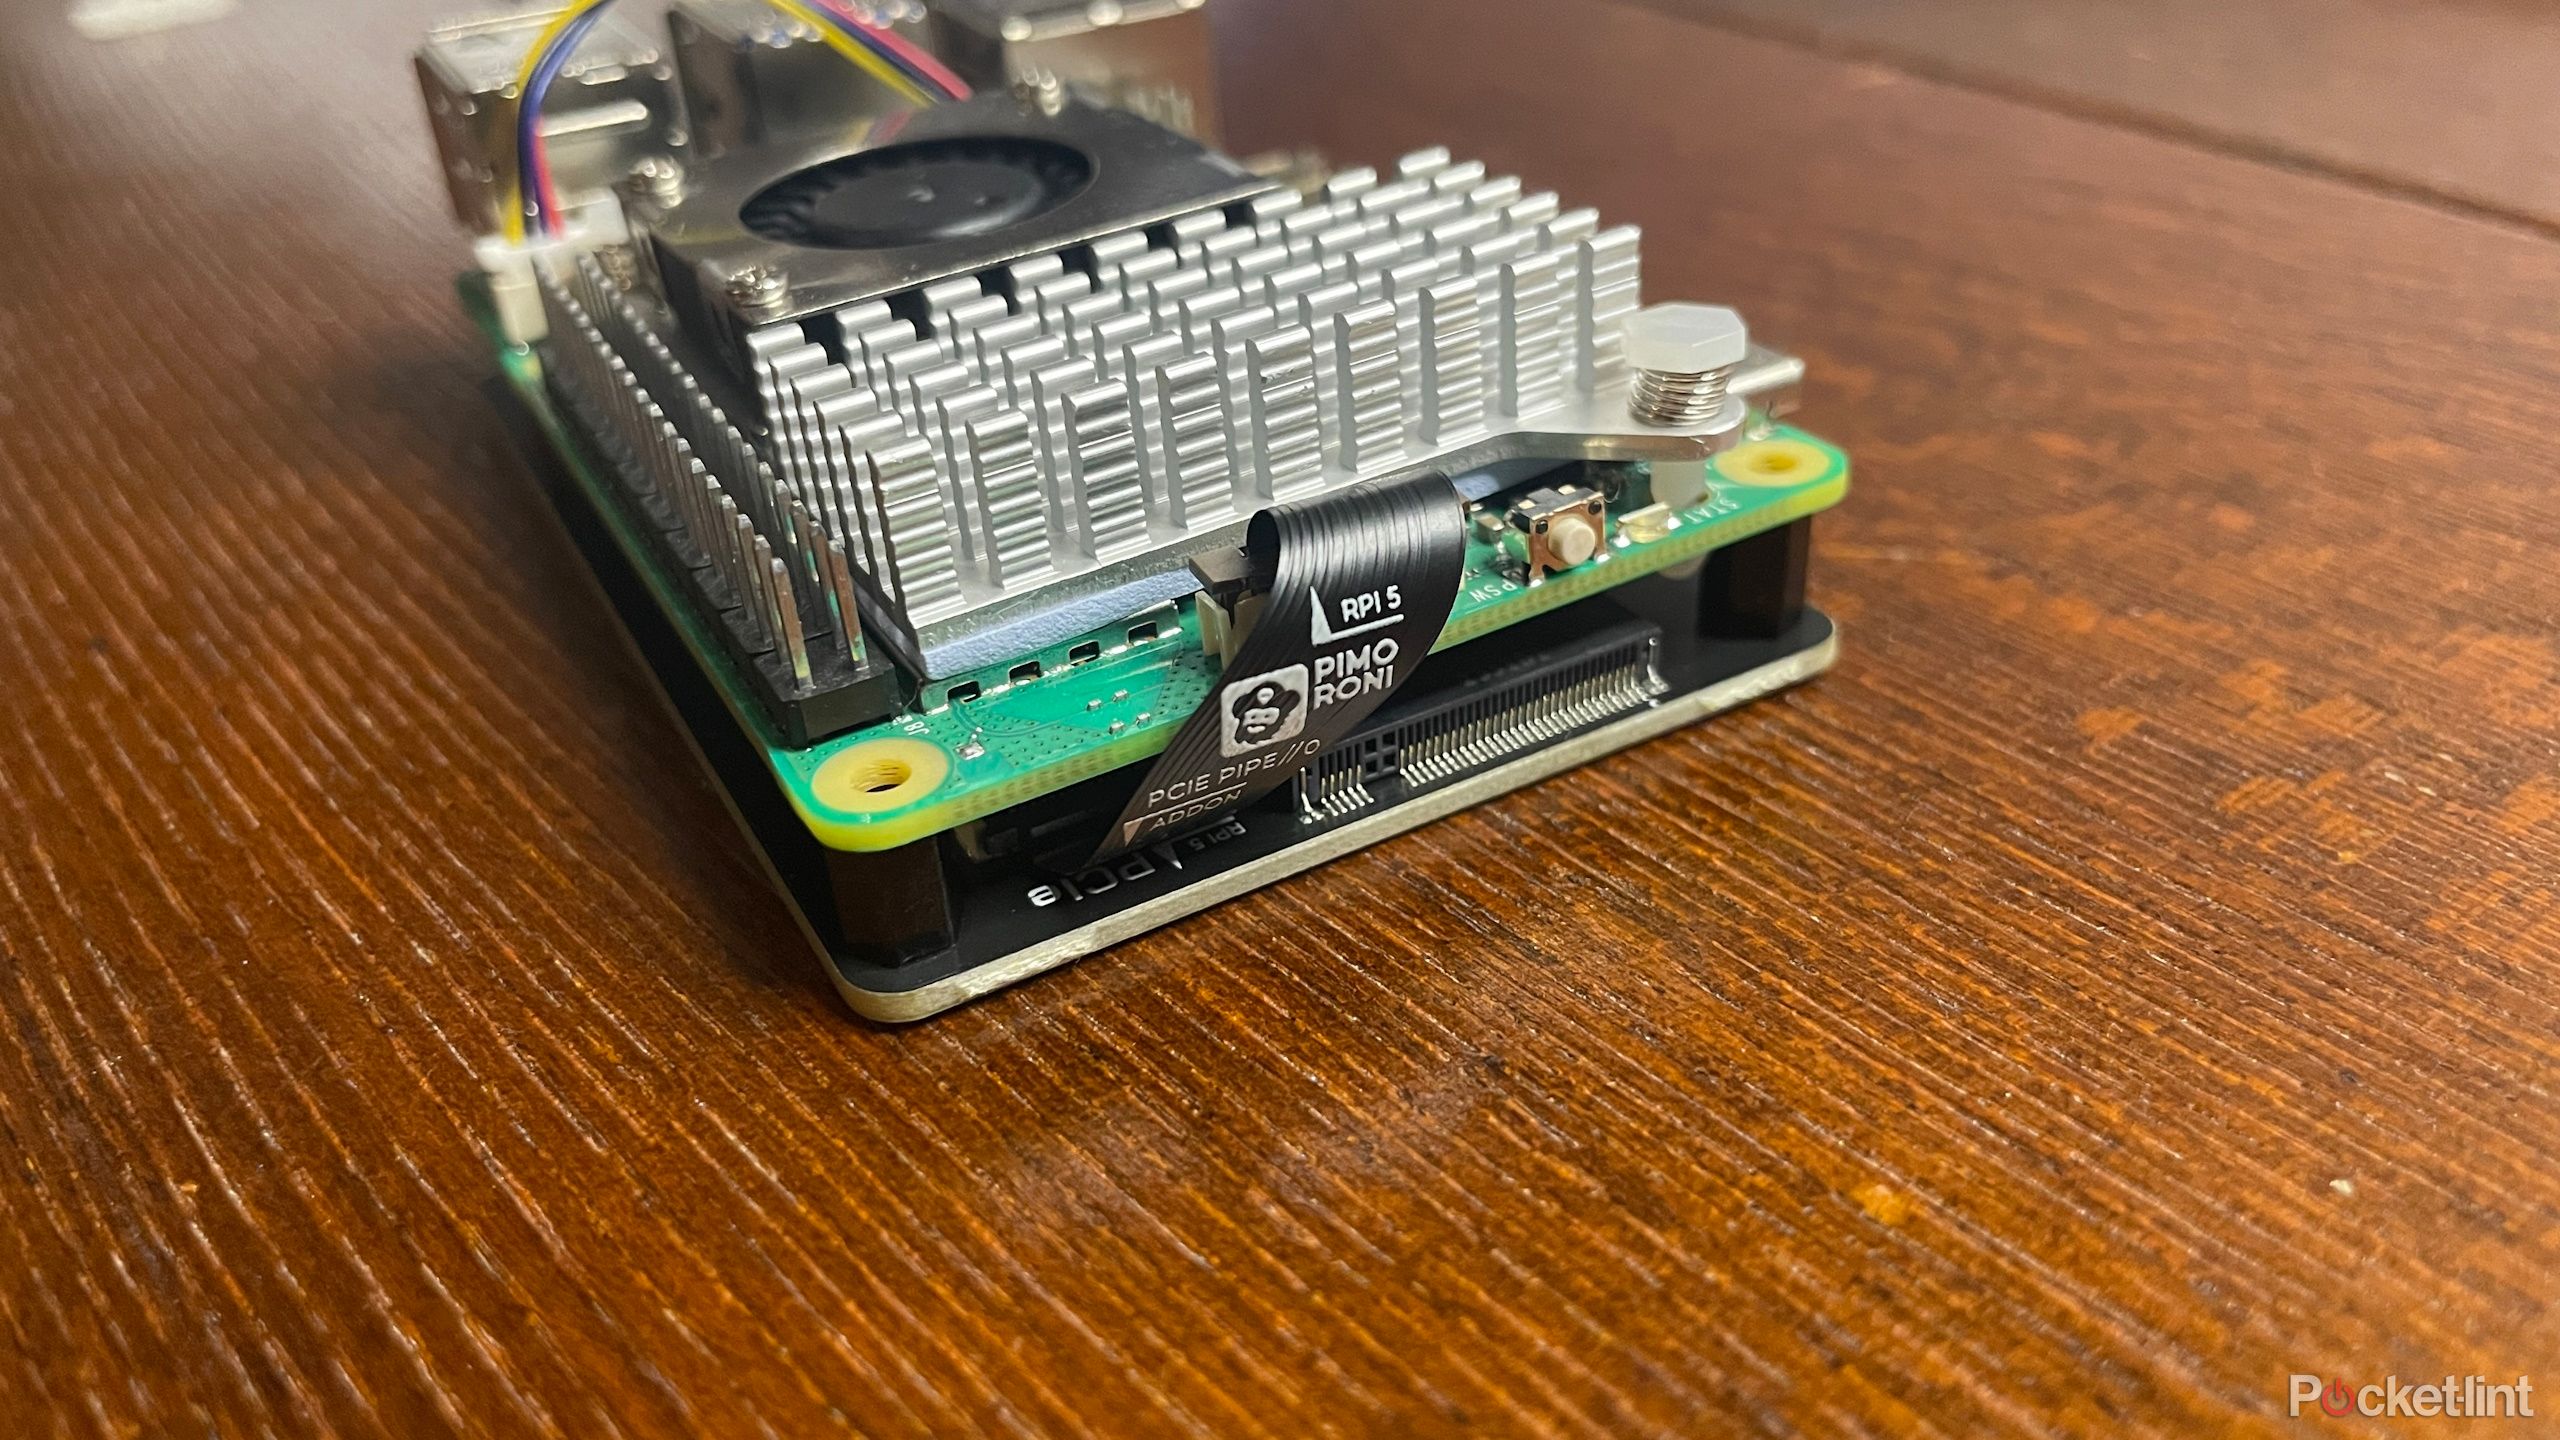
Ideally, you should use a computer that’s a little more powerful than a Raspberry Pi, but the latest models, such as the Raspberry Pi 5 with the maximum 16GB of RAM, can do a more than adequate job of hosting your AI chatbot. The responses won’t be as fast as those you get with AI chatbot apps, but you may feel it’s worth waiting a little longer for your replies in order to protect your privacy.
4 Store your files and documents in your own cloud server
Private cloud storage you can access when the internet is down
Cloud storage can be incredibly useful. Uploading your files to the cloud can help to free up space on your devices by offloading anything that you don’t need immediate access to. You can also access your uploaded files on any device from anywhere in the world, as long as you have a network connection.
There are some downsides to using cloud storage services, however. While many offer a certain amount of storage space for free, if you need a lot of storage, you’re going to have to pay for it. The more data you need to store, the more it’s going to cost.
You can use a Raspberry Pi to run cloud storage software such as ownCloud or Nextcloud.
In addition, you’re entrusting your files to cloud storage companies, and while they have strong security measures, the risk of people accessing your files certainly isn’t zero.
Privacy is also an issue, as you can’t be completely sure that cloud companies aren’t mining your data or allowing government agencies to access it. As with an AI chatbot, one of the simplest ways to mitigate these privacy concerns is to run your own local cloud server.
You can use a Raspberry Pi to run cloud storage software such as ownCloud or Nextcloud. This allows you to upload files to your Raspberry Pi on your local network. You can add an external hard drive to your Pi or install an SSD to give yourself as much storage as you need, and even enable remote access if you wish. The best part is that even if the internet goes down, you should still be able to access your files on your local network.
Related
One cloud to rule them all? I put Google Drive and Microsoft OneDrive to the test
Google Drive and Microsoft OneDrive are the most popular cloud storage platforms, but this one is probably better for you.
5 Build a retro tabletop arcade machine
A retro console is good but a retro cabinet is better

Bandai Namco
A popular use for a Raspberry Pi is to turn it into a retro gaming console using software such as RetroPie, which allows you to run emulators for games from classic consoles such as the Sega Mega Drive and SNES. All you need is a Raspberry Pi, an SD card, an HDMI cable, and a controller, and you can start playing games on a TV or monitor.
If you really want to take things to the next level, however, then you might want to consider building your own desktop arcade machine. It’s a project that requires a lot more work, but when you’re done, you have a dedicated gaming device that you can play anywhere you want.
You’ll need a few extra things for this project. You’ll need a monitor to display the games, as well as some buttons and joysticks for the controls. You’ll also need some speakers if you don’t want to play your games in total silence.
The most challenging part is building the cabinet, however. You’ll need to build the housing that holds all of the parts, and it needs to be sturdy enough to handle you mashing all the buttons in panic when you’re about to lose. If your DIY skills are solid, however, then with some work you can create something truly impressive, and it won’t cost you the earth to make it. It will certainly be a lot cheaper than buying a ready-made one, and a lot more fun to work on, too.
Related
How I turned my Apple TV 4K into a retro gaming powerhouse
The Apple TV 4K is a surprisingly competent gaming machine.


