Key Takeaways
- Custom walking routes in Apple Maps offer turn-by-turn directions, elevation data, and the fastest way back.
- Custom walks can be planned for any location but require known roads, trails, or paths on Apple Maps.
- Custom hikes can be created at trailheads or any location, offering flexibility and access to saved paths offline.
Apple Maps has long had a feature that allowed you to find walking directions rather than driving directions. But, with iOS 18, Apple introduced a new way to travel on foot: Custom walking routes. The new feature mixes the turn-by-turn directions that you’d expect from Apple Maps with features like the ability to find the fastest way back in one tap, the option to save hikes for later, and the ability to use elevation data while planning that hike.
Apple Maps’ custom walking routes can be used for anything from hiking national forests to finding the best way around a city or your own neighborhood. The new feature doesn’t need a well-known hiking trail either. But, the custom walking path tool is a bit buried in the menu, which means many longtime Apple users may not even realize the feature is there.
Here’s how to use Apple Maps’ new custom walking routes to plan a rural hike or a city stroll.
What are Apple Maps’ new custom walking routes?
The feature is new in iOS 18
While Apple Maps already had turn-by-turn walking directions, the new custom walking routes are a bit different. Walking maps can be used on streets or trails and walking paths and can be saved for use again later. They are also more customizable for the turns and stops you want to make.
For the custom walking routes to work, the pathway has to be on Apple Maps in the first place as a known road, trail, or walking path. This means you won’t be able to create a hike through private property, but I’ve found even small walking trails through rural parks are on the map.
I’ve found the new custom walking routes to offer these advantages:
- Plan ahead, before you arrive. You don’t have to be at the location to plan a hike. You can map out your hike while sitting on your couch at home, then save the route for later.
- Use elevation data. The same iOS 18 Apple Maps update adds more elevation data to the map. Once you map out your route, the app will tell you how much elevation you gain, so you can see whether you’ve planned an easy, flat hike or a strenuous uphill one.
- Find the best route back. While Apple Maps will tell you the best way to get from point A to point B, a custom hike can have several stops and, with the click of a button, you can map out the best way back to the starting point.
- Estimated time to complete and distance. Custom hikes include the estimated distance traveled, as well as the estimated time to complete.
- Save favorite hikes to use again, or download to use offline. Custom hikes can be saved to your device, so you can enjoy a route multiple times. You can also download the custom route so that you can still access it if out of the range of a cell tower.
How to create a custom hike in Apple Maps at popular trailheads
Starting from a popular trailhead is simple
To use Apple Maps’ new custom hike feature, you’ll need an iPhone with iOS 18 or later installed.
Popular trailheads have Apple Map’s custom route option built-in, making starting from a known trailhead a bit simpler. You can, for example, pick just a short part of the Appalachian trail to venture out and then back in on. If you’re hiking a lesser-known trail or want to create a walk on streets rather than trails, skip ahead to the next section.
- Open Apple Maps.
- Search for the park or trail that you plan to hike and select the trail from the results.
- At popular locations, the Create a Custom Route option will be listed below the ratings and distance. Tap it. If your location doesn’t list the custom route option here, skip ahead to the instructions in the next section instead.
- At some locations, the trailhead will already be selected as the starting point. If not, you’ll be prompted to tap on the spot on the map that you’d like to use as a starting point.
- Tap the next spot that you would like to add to your route. Apple Maps will automatically fill out the best route between the two using known trails, pathways or streets.
- Repeat step five until the path reaches your destination. You can add only a few spots to let Apple Maps determine the best way there, or, for a more custom route, tap along the turns you know you want to take.
- To finish your route, tap Out and Back if you want to turn around to get back to your starting point. Or, tap Close the Loop if you want to circle back to your starting point on other trails instead. (If a circular route isn’t available, Apple Maps will have you turn around instead.) Optionally, you can tap the reverse button to turn your start point to your endpoint and vice versa.
How to create a custom hike in Apple Maps at any location
You can also use custom walking paths in urban areas too
While popular trailheads are already populated with the new custom hike tool, less popular areas require a slightly different process to get started. With this option, you can hike urban streets, or explore a lesser-known rural park.
- Open Apple Maps.
- Use the search tool to find the desired hiking area, if you aren’t there already. Once the area you want to hike is on the screen, tap the X to close the search results. Or, use your fingers to manually drag the map to the area you want to hike.
- Swipe up from the search bar to pull up the menu.
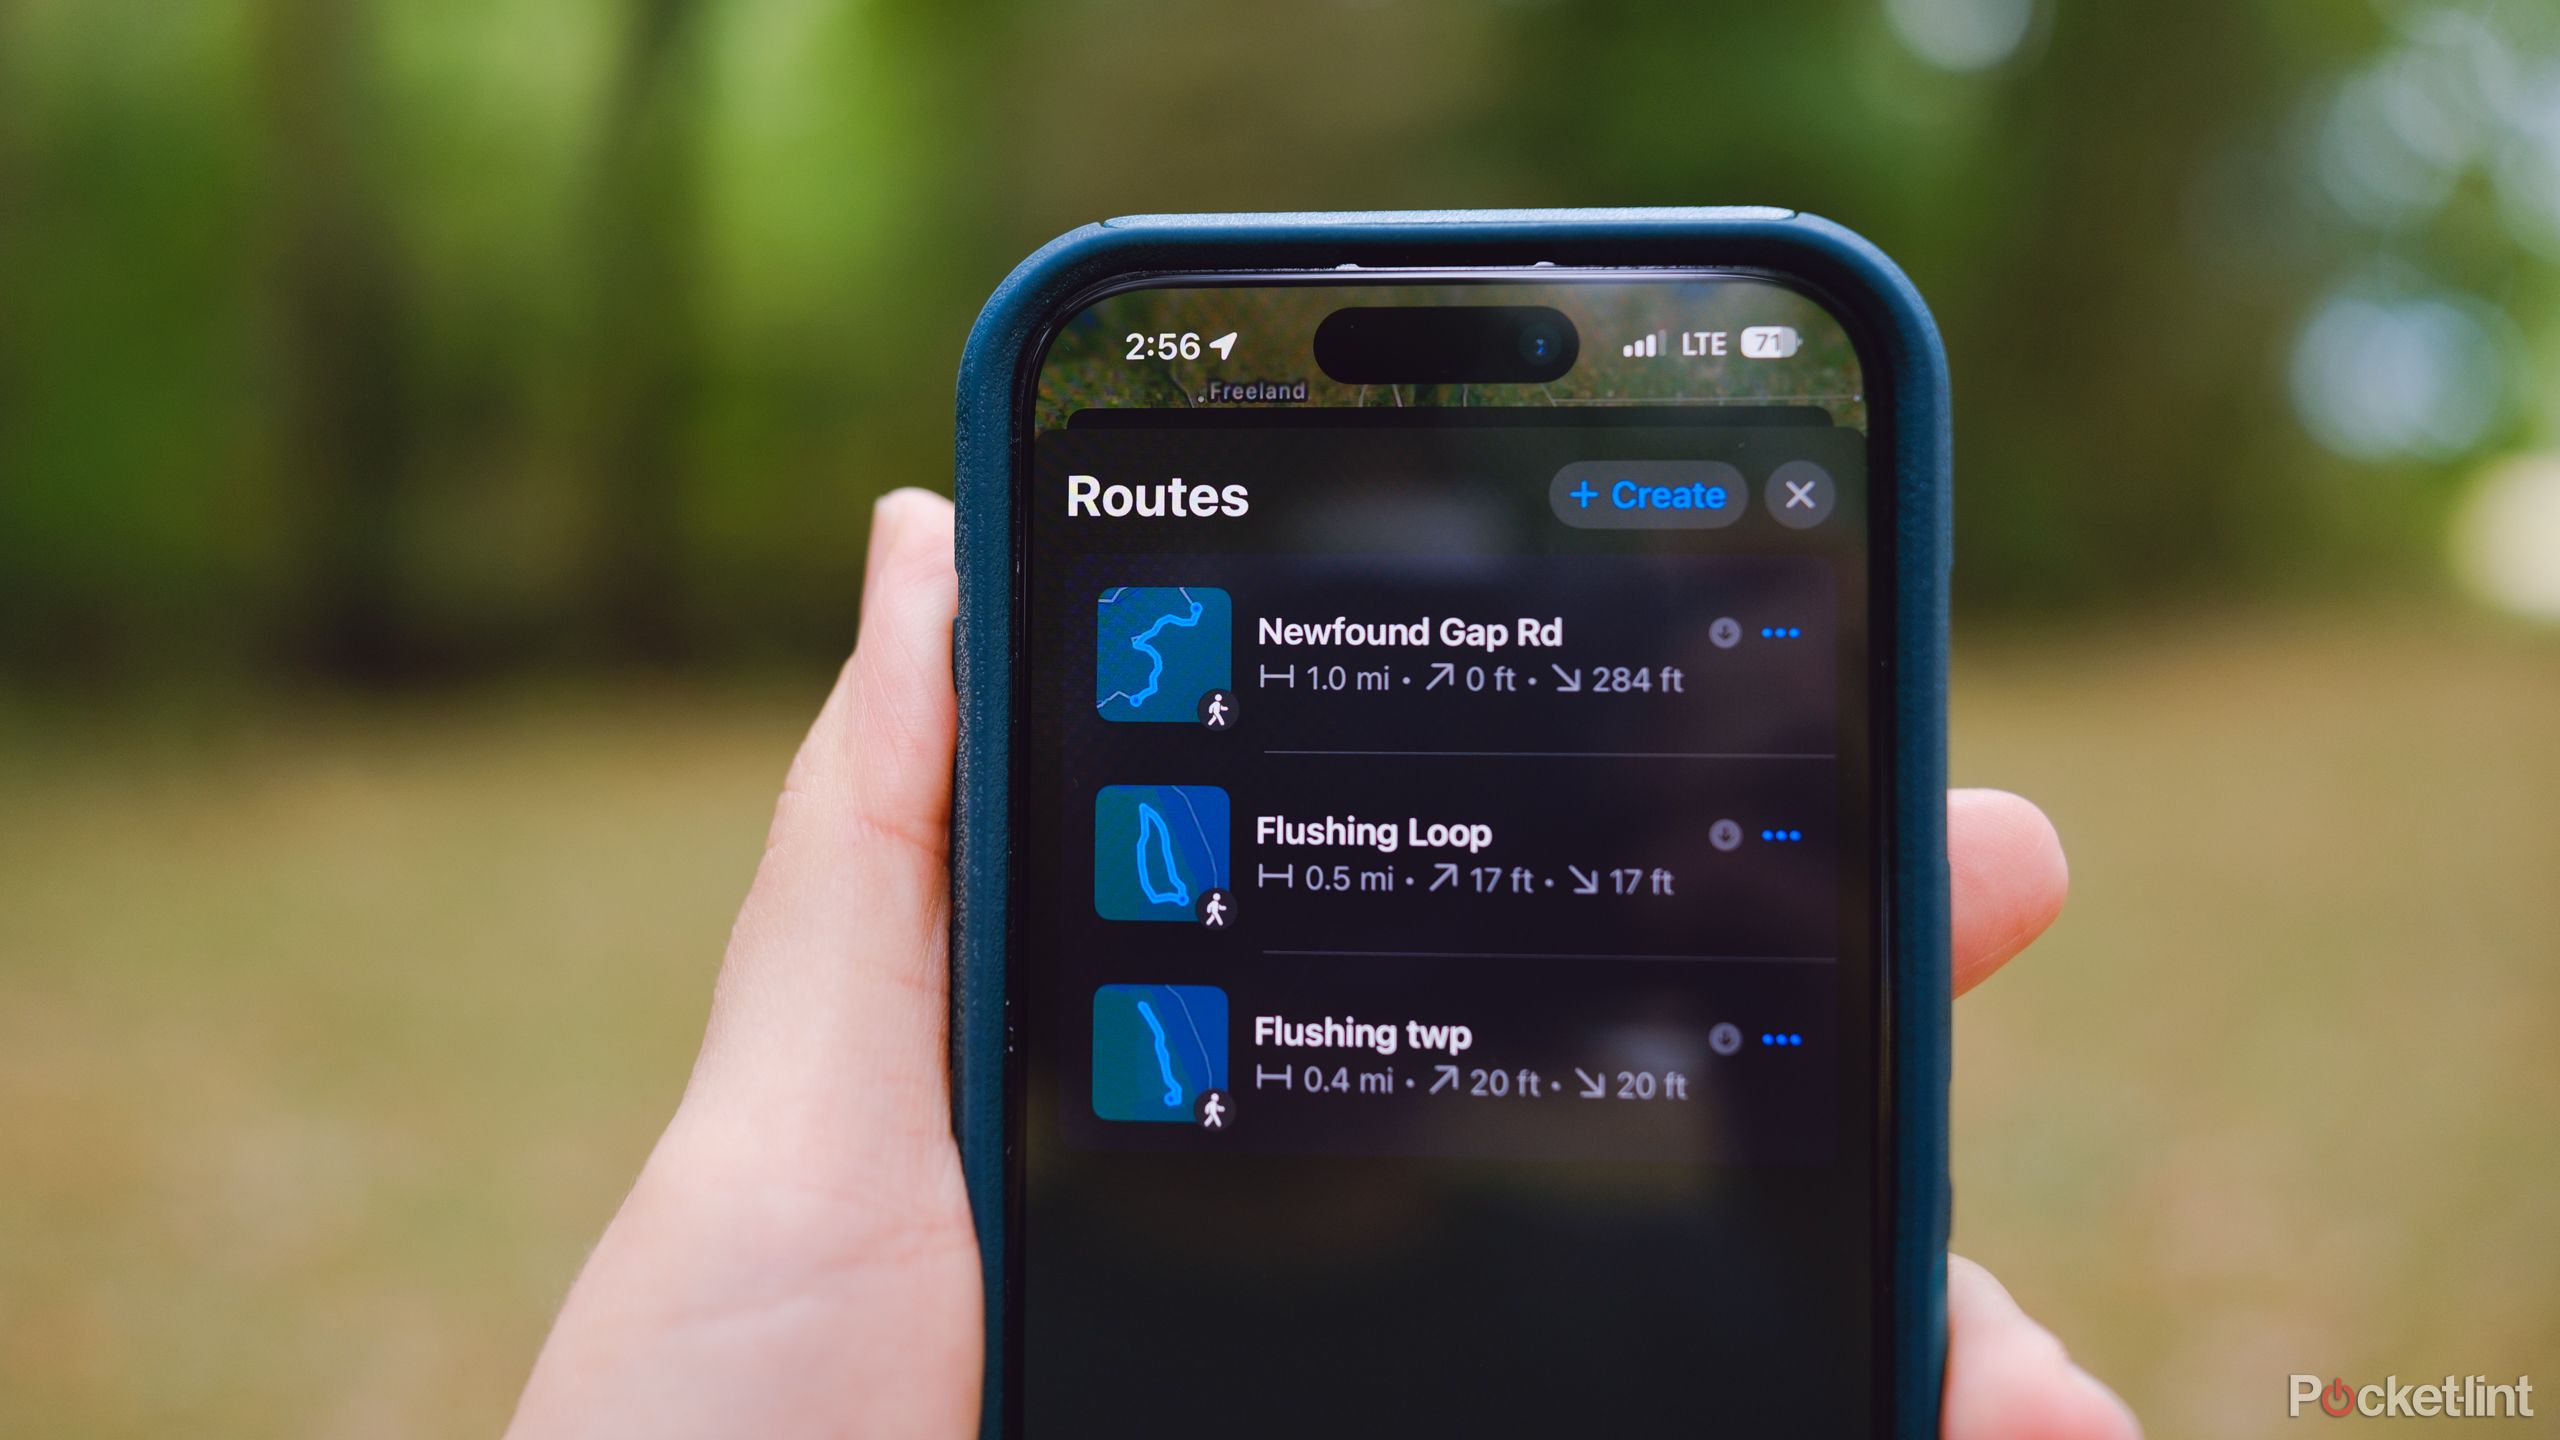
- Underneath the search bar and Library, tap where the app lists Places, Guides and Routes. (The app will list the number of each that you’ve saved here).
- Tap Routes.
- Tap + Create.
- Tap the map where you would like to start the hike. If needed, you can use the pinch-touch gesture to zoom in.
- Next, tap the screen on the next spot on your route. You can add as little as two points to have Apple Maps automatically fill in the best route for you. Or, if you know you want to take a certain turn or stop at multiple scenic points, you can add multiple points along the route you want to take. Repeat this step until your route is at your final destination.
- To finish the hike, you can choose to double back at the end by tapping Out and Back or to loop around on another path by tapping Close Loop. If another path isn’t detected, Apple Maps will automatically create an out-and-back route instead. Or, you can end the custom hike at the end, then tap the Reverse button if you need directions back to the starting point.
- Tap Save to save the route.
- On the next screen, name the route and add notes, if desired. If you want to save the instructions to your device in case you don’t have a signal on the path, make sure the Download Route toggle is green. Tap done when finished.
- On the next screen, tap directions to start the hike. Or to start your hike later, you can find the route in your Apple Maps library.
For the Close Loop feature to work, you may need to add points 75 percent of the way around the loop. Because Apple Maps tries to find the fastest way back, the app may recommend doubling back on a loop trail that’s 50 percent complete.


