Summary
- You can create an Invites event using the iPhone app or iCloud.com, but only if you’re an iCloud+ subscriber.
- Events can include a background image, Apple Maps directions, a shared photos album, and an Apple Music playlist.
- There are many choices for managing guests, including an optional approval process.
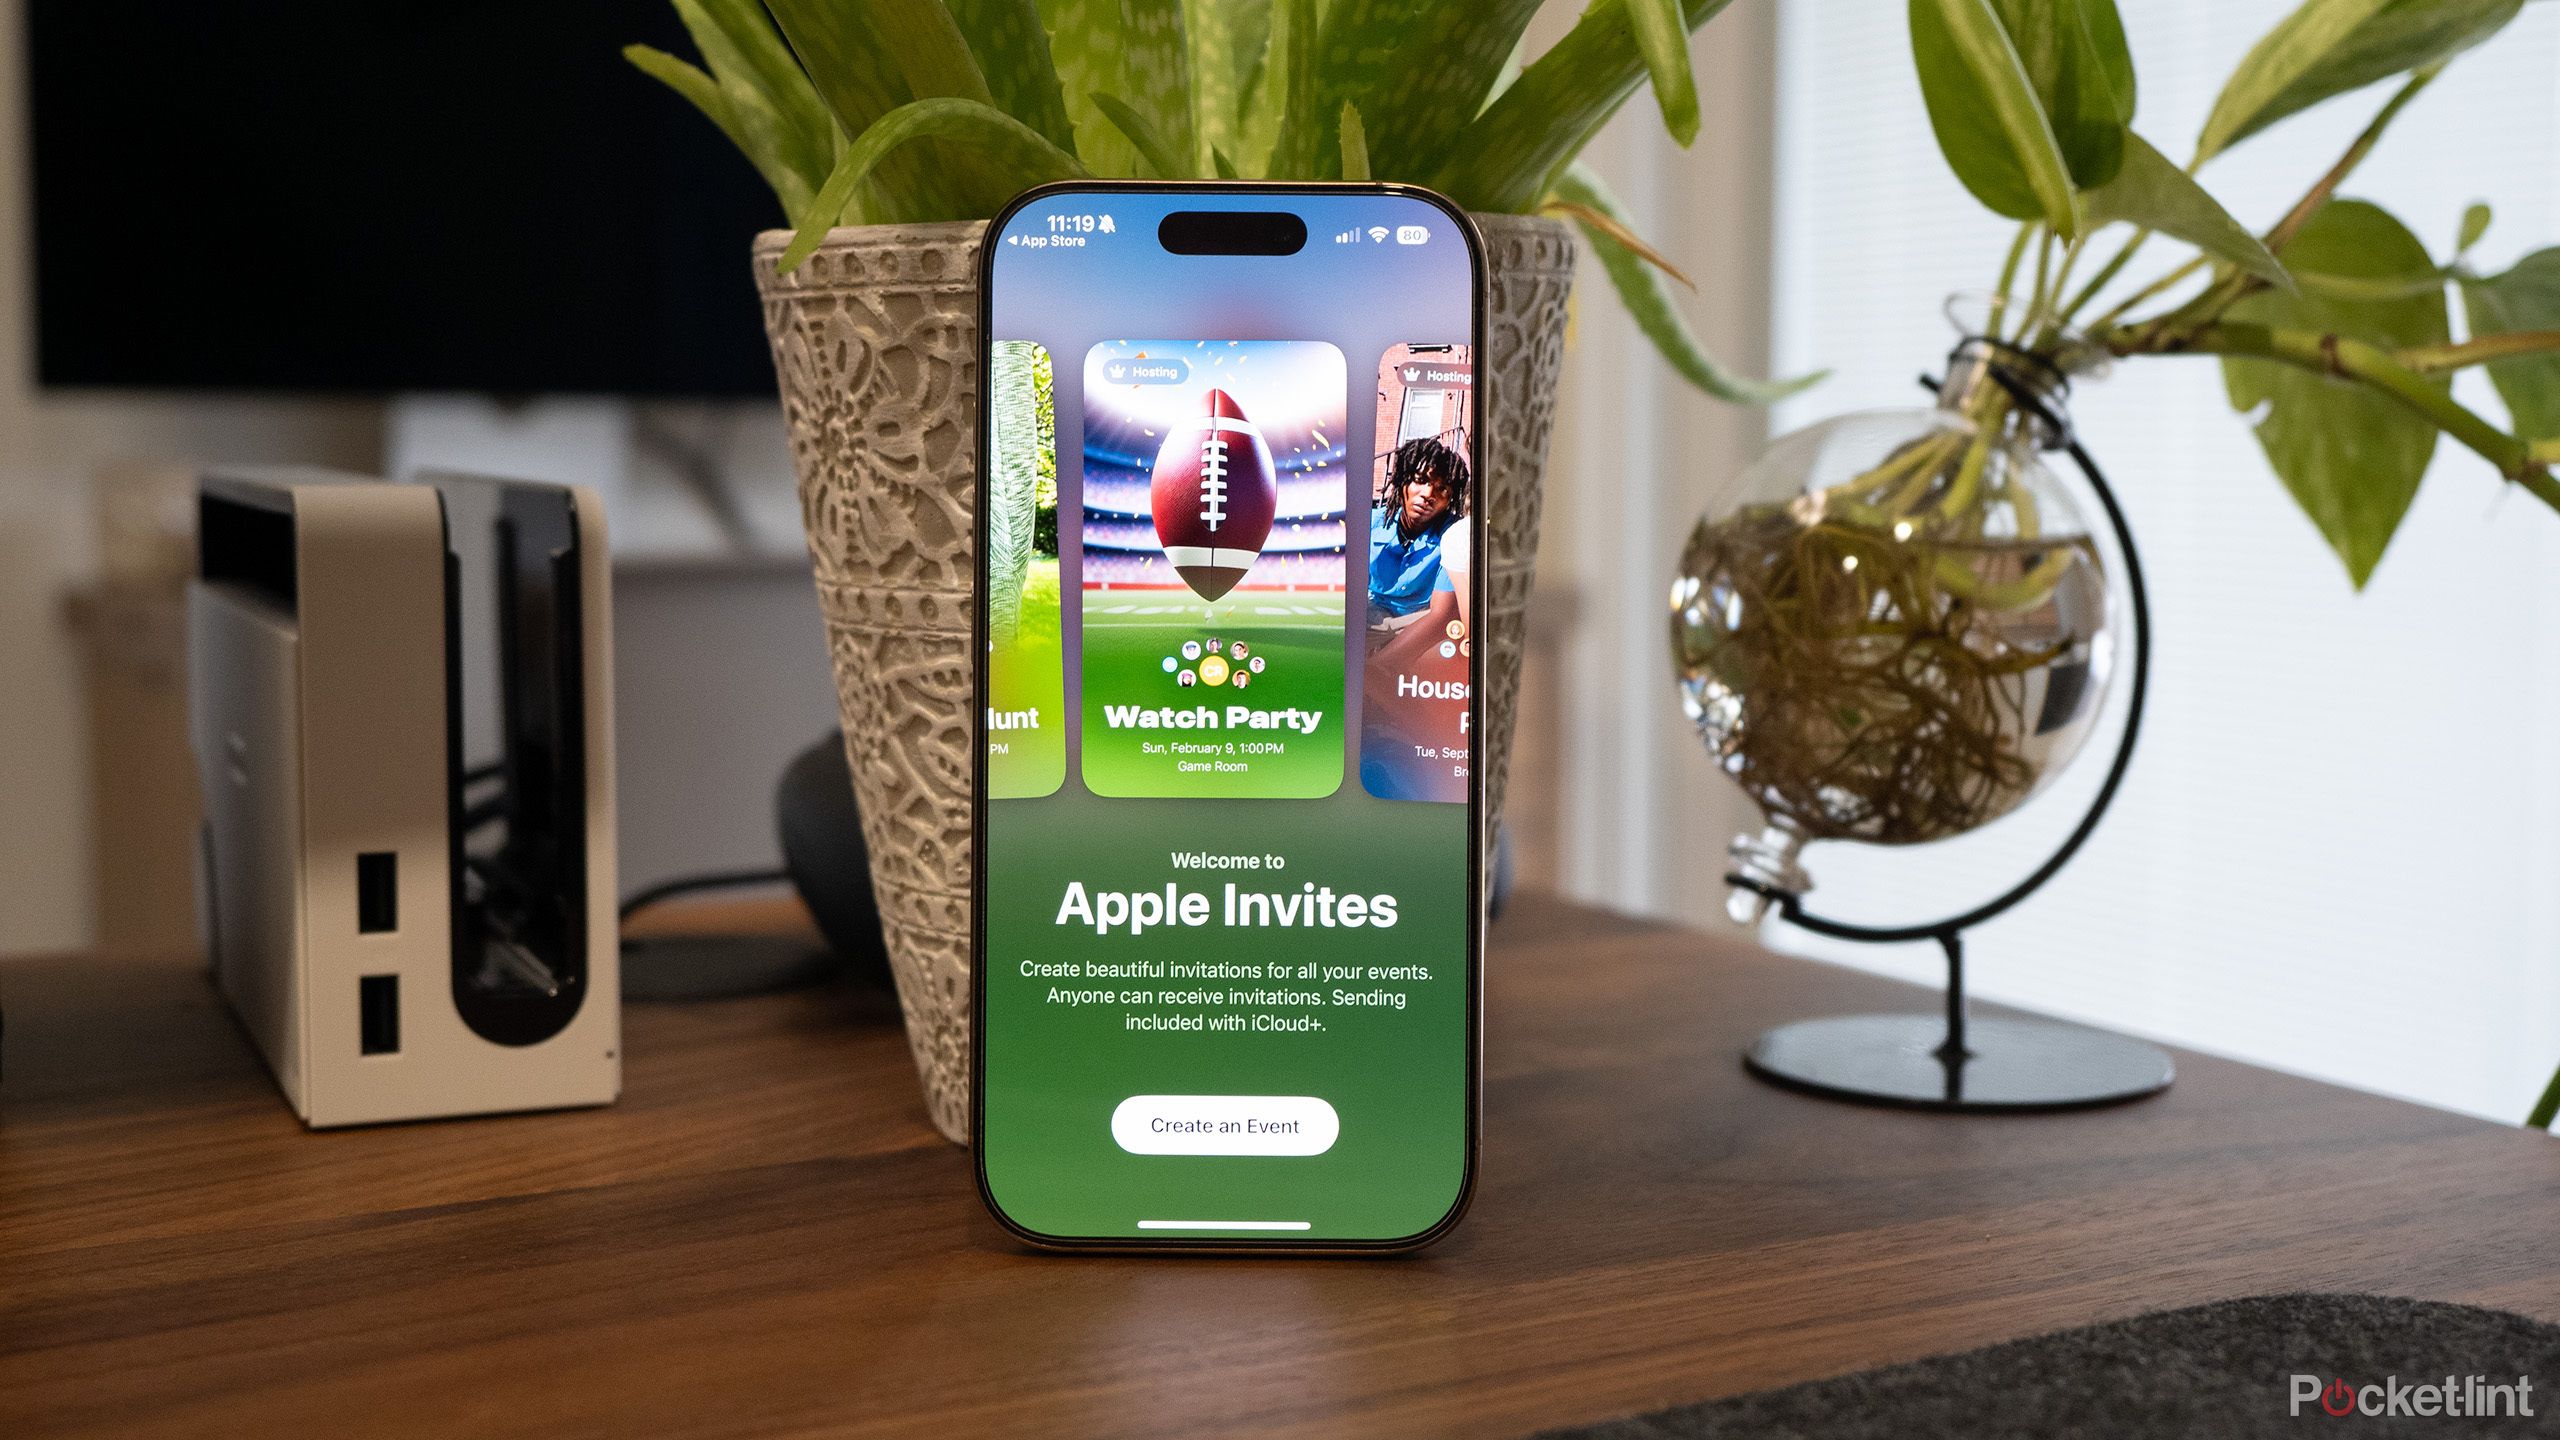
Apple recently launched an app called Invites, built to solve a flaw you may not have considered in its Calendar app — group events. While you don’t need Invites to host events using your Mac or iPhone, the app does make it easier to organize them, and helps turn them into a bigger spectacle. You’d probably be more inclined to attend a cookout if someone handed you a decorative card instead of an address on a sticky note, after all.
In this guide, I’ll fill you in on all you need to know about Invites, including not just creating an event but the requirements to use the app. Yes, there are a few. I’ll also cover who can receive RSVPs, and why the app is best used among friends and family in the Apple ecosystem, even if Android and Windows users can still join in.

Apple Invites
- Developer
- Apple
- Subscription cost
- iCloud+ to create events

Related
I downloaded Deepseek to see how censored it really is
Don’t expect it to be fully honest with politically sensitive topics.
What do you need to use Apple Invites?
Hosting requirements
To create events, you’ve got one of two options. The first is the iPhone app, which runs on any device with iOS 18 or later. That means any iPhone from 2018’s iPhone XS, XS Max, and XR onwards. Invites is a free download from the App Store.
You can also use a web interface by going to icloud.com/invites in a browser and signing in with your Apple Account. It’s more limited in some respects, but the advantage is that you can reach it from any platform, including Mac, Android, and Windows. You might even try your Steam Deck.
In all cases, there’s an important catch — to host an event, you need to be an iCloud+ subscriber. That’s a paid service mostly focused around extra storage, so if you don’t need more files in the cloud, it may not be worth it. The good news is that the cheapest iCloud+ plan costs $1 per month.
Receiving invites
Anyone can receive and accept an invite. If you don’t have an iPhone with the Invites app, you can always RSVP with the web link you receive, which will take you to icloud.com/invites. It’s still helpful to have an Apple Account — since that lets you add items to shared photo/video albums — but you can stay signed out if you like.

Related
Somehow, iCloud+ is the subscription I rely on the most
iCloud+ offers several robust features that provide so much value to me that I cannot fathom cancelling it.
How to host an event with Apple Invites
Using the iPhone app

Apple / Pocket-lint
The process should be fairly intuitive, but there are some quirks. Follow these steps:
- In the upper-right corner of the app, tap the plus icon.
- Tap Add Background to choose a picture. Beyond Emoji, Photographic, and Colors options, you can use Photos to pick an image from your library, or Camera to shoot a new photo. iPhones with Apple Intelligence (like the iPhone 16) can generate an AI image using Image Playground.
- Tap Event Title to name your event. You can also change fonts this way. When you’re done, hit Return.
- Select Date and Time. Events can have start and end times, or run all day.
- Next, tap Location. You’ll have the option of searching for a place via Apple Maps, or else entering a label of your own, like “Overlook Hotel.” If you can find your location in Apple Maps, though, you’ll automatically get a weather forecast for the event date.
- Tap Hosted by to change the host’s name and/or add event details. This is your last chance to include vital details, such as cost or what people should bring.
- Optionally, tap Create Album to start a shared photo/video collection, or Add Playlist to build a shared Apple Music playlist. Be warned that guests need an Apple Account to upload photos and videos, and an Apple Music subscription to add to a playlist or listen to it.
- Select Preview to see what the finished invite will look like. If it’s good, tap Next.
- Adjust an event’s settings by tapping its sliders icon. Use this to do things like enable approval of guests, limit the number of additional guests people can bring, and pause RSVPs when you don’t want any more people coming.
- To start inviting people, open any event and tap Invite Guests. You can create a public link by tapping an option like Messages or Mail. If you pick Choose a Guest, you can invite people listed in your Contacts app, or send custom links to people you haven’t saved.

Related
Is hybrid AI the smartphone wave of the future? Samsung and Apple think so
Maybe a one-size-fits-all approach isn’t the best for voice assistants.
Using iCloud.com

This is mostly similar to using the iPhone app, so I won’t belabor the details too much. The interface is different though, and some options are missing.
- Go to icloud.com/invites and sign in with your Apple Account.
- In the upper-right corner, click New Event.
- For background images, click the photos icon to pick something from iCloud Photos, or the cloud upload icon to upload something from your device.
- Click Event Name to rename your event and change fonts.
- Select Date and Time to pick start and end times, or set an all-day event.
- Click Address to enter a location. If it’s listed in Apple Maps, directions and a weather forecast should be included automatically.
- Use the Host tile to enter an event description. Click the pen icon to change the host’s name.
- Optionally, click Create Album to start a shared photo/video collection, or Add Playlist to build a shared Apple Music playlist. Guests need an Apple Account to upload photos and videos, and an Apple Music subscription to join (or listen to) a playlist.
- Use the gear icon to adjust event settings, for instance enabling the approval or rejection of people who RSVP.
- Click Preview. If everything’s okay, hit Publish.
- To invite people, open the event and click Manage Guests. You can create a public link by clicking options like Email or Text, or enter a name under Invite Individuals to invite people from Contacts. When you’re finished, click Done.

Related
I change these 5 iPhone settings immediately, and you should too
Apple doesn’t necessarily know what most iPhone users like.
Managing events and guests
Keep on top of the chaos

Once an event is launched, you can always manage guests using the Invite Guests menu in the iPhone app, or Manage Guests at icloud.com/invites. If you’ve enabled approvals for RSVPs, use the checkmark and X icons next to each name in the Guest List. If you reject someone by accident, you can hit Unblock to undo that, but you’ll have to resend their invitation.
If you tap the triple-dot icon next to a guest, you’ll get additional options. In the iPhone app, those include Allow to invite others, Remove from Event, and an invitation link (tap View Information -> Invitation Link). iCloud.com users will only see Copy Link and Remove from Event.
If you need to cancel, delete, or reactivate an event, use the event settings menus mentioned earlier (slider and gear icons). Edit an event on your iPhone by opening it, then tapping … -> Edit. On the web, select the event and click Edit.
Another handy feature is the ability to send notes to all guests without contacting them one-by-one. In the iPhone app, just tap Send a Note within an event page. iCloud.com hosts should click the plus icon in the Host tile, then Send an update.

Related
Use this trick to save 7GB of storage on your iPhone
Assuming you’re willing to sacrifice Apple’s latest tentpole feature, that is.
Responding to events and adding to albums/playlists
Nothing to it

Apple/Pocket-lint
If you’ve been invited to an event, you’ll be prompted to select Going, Not Going, or Maybe using the Invites app or a web link. You can select your profile picture to toggle between an image or initials, and add a message you want to share with everyone (not just the host!).
Once you’ve been accepted to an event, that’s when you’ll see Add Photos and Add Music appear. Once again, though, you need to be signed into your Apple Account to upload photos and videos, and have an Apple Music subscription to contribute to playlists. Even if you are a subscriber, you have to meet a minimum age to use the playlist function. In the US, that’s 13.

Related
Will anyone actually want Apple’s AR glasses when they’re ready?
Apple seems to be struggling to understand AR and VR.


